
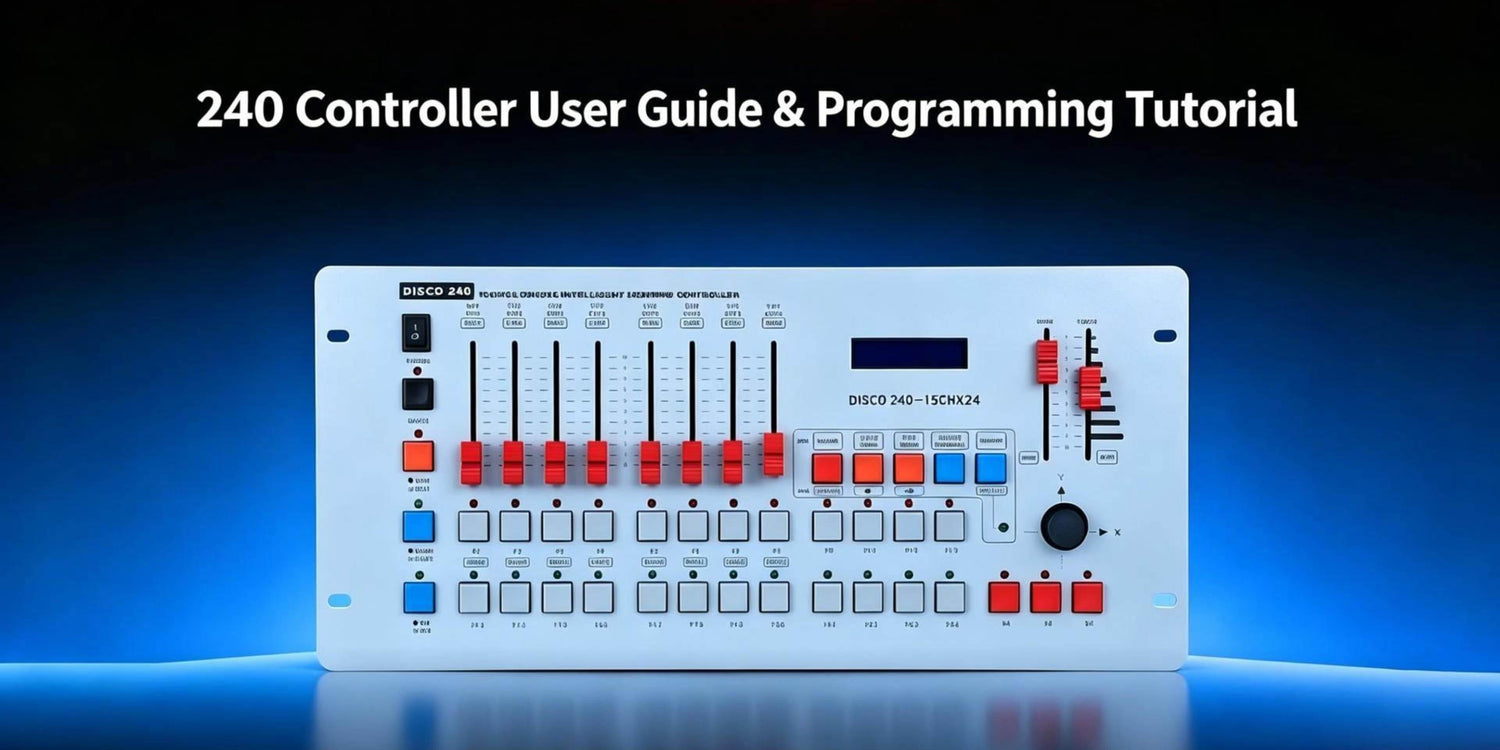
Learn how to assign DMX addresses, connect multiple fixtures with DMX daisy chaining, and control each light independently using the Betopper DMX 240 controller.
🎥 Watch the full tutorial video:
DMX 240 Controller Tutorial #4 | Setting DMX Addresses & Connecting Multiple Fixtures | Betopper Official Guide
Introduction
Once you understand the basic functions of the Betopper DMX Console 240, the next step is learning how to control multiple fixtures together.
When several stage lights are connected to one DMX controller, each fixture needs its own DMX address so the controller can communicate with them separately.
Without correct addressing:
- Multiple fixtures may respond at the same time.
- Some fixtures may not respond at all.
- Creating independent lighting effects becomes difficult.
With the correct DMX setup, you can connect multiple fixtures in one chain, assign each light its own address, and control the entire lighting system from a single controller.
This tutorial is designed for:
- Beginner DMX users
- Mobile DJs
- Stage lighting operators
- Event professionals expanding from one fixture to multiple fixtures
In this guide, you will learn how to:
✔ Understand DMX addressing with multiple fixtures
✔ Calculate the correct starting address for each fixture
✔ Connect multiple lights using DMX daisy chaining
✔ Set DMX addresses on different fixture menus
✔ Assign and test each fixture from the DMX 240 controller

What Is a DMX Address?
A DMX address is the starting channel number assigned to a lighting fixture.
Each fixture uses a specific number of DMX channels to control different functions, such as:
- Brightness
- Color
- Movement
- Gobo
- Other lighting effects
The DMX address tells the controller where each fixture's control information begins.
For example:
If two fixtures use the same starting address, they will receive the same commands and behave identically.
If each fixture has a different address, you can:
- Control lights independently
- Create different colors on different fixtures
- Program separate movements
- Build more advanced lighting scenes
Calculating DMX Addresses for Multiple Fixtures
Before setting addresses, calculate the channel spacing for your fixtures.
In this example:
Each fixture uses 16 DMX channels.
The formula is:
Previous fixture address + channel count = next fixture address
For three fixtures:
| Fixture | Starting Address | Channel Range |
|---|---|---|
| Fixture 1 | A001 | Channel 1–16 |
| Fixture 2 | A017 | Channel 17–32 |
| Fixture 3 | A033 | Channel 33–48 |
The calculation works like this:
Fixture 1
Starting address: A001
↓
Fixture 2
001 + 16 = A017
↓
Fixture 3
017 + 16 = A033
Planning your addresses before connecting the fixtures helps prevent mistakes during setup.

Connecting Multiple Fixtures with DMX Daisy Chaining
Step 1: Connect the DMX Signal Chain
Before assigning addresses, connect all fixtures correctly.
Use a DMX512 signal cable and follow this order:
DMX 240 Controller → Fixture 1 → Fixture 2 → Fixture 3
Connection steps:
- Connect the DMX OUT port of the DMX 240 controller to the DMX IN port of Fixture 1.
- Connect the DMX OUT port of Fixture 1 to the DMX IN port of Fixture 2.
- Continue connecting each fixture using the same OUT-to-IN method.
This connection method is called DMX daisy chaining.
The controller sends DMX data through the entire chain, allowing multiple fixtures to receive commands from one controller.

Setting DMX Addresses on Your Fixtures
Step 2: Assign Each Fixture a Unique Address
After connecting the fixtures, set the DMX address on each fixture.
The address order should match your fixture setup:
Fixture 1 → Address A001
The first fixture remains at:
A001
This fixture uses:
Channels 1–16
Fixture 2 → Address A017
The second fixture starts after the first fixture's 16 channels.
Set the address to:
A017
This fixture uses:
Channels 17–32
Fixture 3 → Address A033
Continue the same calculation:
017 + 16 = 033
Set the third fixture to:
A033
This fixture uses:
Channels 33–48
Different Fixtures May Use Different Menu Systems
Not every fixture uses the same address menu.
For example:
Standard Address Menu
Some fixtures allow you to:
- Enter the menu
- Select DMX address
- Adjust the value
- Press confirm
Betopper BSW200 Example
On fixtures such as the Betopper BSW200:
- Enter the Address option.
- Press OK to select it.
- The selected option will highlight.
- Adjust the address value.
- Confirm the setting.
The process is slightly different, but the goal is always the same:
Assign each fixture its own starting address.
Assigning Fixtures on the DMX 240 Controller
Step 3: Match Fixtures with P1, P2, and P3
After setting fixture addresses, assign them to the controller.
On the DMX 240:
- Enter the address setting mode.
- Select the fixture position.
- Enter the matching address.
- Confirm the setting.
For this setup:
| Fixture | Controller Position | Address |
|---|---|---|
| Fixture 1 | P1 | A001 |
| Fixture 2 | P2 | A017 |
| Fixture 3 | P3 | A033 |
The P-number should follow the fixture address order you assigned.
For example:
- A001 → P1
- A017 → P2
- A033 → P3
This allows the controller to communicate with each fixture independently.
Testing Each Fixture Independently
Step 4: Confirm Your DMX Setup Works
After assigning addresses, test each fixture one at a time.
Test Fixture 1
Select:
P1
Check:
- Brightness
- Color
- Movement
Only Fixture 1 should respond.
Test Fixture 2
Select:
P2
Test:
- Brightness
- Red / Green / Blue color control
- Movement
Only Fixture 2 should respond.
Test Fixture 3
Select:
P3
Test:
- Pan
- Tilt
- Brightness
- Color changes
If each fixture responds independently, your DMX addressing is correct.

Common DMX Addressing Mistakes
1. Using the Same Address for Multiple Fixtures
Example:
Fixture 1 → A001
Fixture 2 → A001
Result:
Both fixtures respond together.
Solution:
Assign each fixture a unique starting address.
2. Increasing Addresses by Only One Channel
Incorrect:
A001 → A002 → A003
Correct:
A001 → A017 → A033
Always consider the number of channels used by each fixture.
3. Incorrect DMX Cable Connection
The correct signal path is:
Controller DMX OUT
↓
Fixture DMX IN
↓
Fixture DMX OUT
↓
Next Fixture DMX IN
DMX signals travel in one direction through the chain.
Tips for Setting Up Multiple Fixtures
1. Calculate Addresses Before Setup
Write down your fixture addresses before connecting everything.
This prevents confusion during live setup.
Example:
| Fixture | Address |
|---|---|
| Light 1 | A001 |
| Light 2 | A017 |
| Light 3 | A033 |
2. Label Your Fixtures
A small label showing:
- Fixture number
- DMX address
can save a lot of time when multiple lights are connected.
3. Test One Fixture at a Time
Do not wait until the entire system is connected.
After setting each fixture:
- Select it on the controller.
- Test brightness.
- Test movement.
- Confirm response.
This makes troubleshooting much easier.
4. Check Your Fixture Manual
Different fixtures may have different DMX menu layouts.
The address-setting concept is the same, but the menu steps may vary.
Frequently Asked Questions
Why do DMX fixtures need different addresses?
Each fixture reads a specific group of DMX channels. Different addresses separate those channel groups, allowing independent control.
How do I calculate the next DMX address?
Add the previous fixture's starting address to its channel count.
For 16-channel fixtures:
A001 + 16 = A017
A017 + 16 = A033
Can I connect multiple moving heads to the DMX 240 controller?
Yes. Multiple moving heads can be connected through DMX daisy chaining as long as the total DMX channel usage fits within the controller's available channels.
Why are all my lights responding together?
The most common reason is that multiple fixtures have the same DMX address.
Check each fixture and make sure every light has its own unique starting address.
Conclusion
Correct DMX addressing is the foundation of controlling multiple lighting fixtures.
By following four steps:
- Calculate fixture addresses
- Connect fixtures through DMX daisy chaining
- Assign addresses on each fixture and the DMX 240 controller
- Test each fixture independently
you can turn multiple individual lights into one coordinated lighting system.
Once your fixtures are correctly addressed, you are ready to move on to programming scenes, chases, and more advanced lighting effects with the DMX 240 controller.
Stay tuned for the next episode of the Betopper DMX 240 Controller Tutorial Series.

コメントを残してください
全てのコメントは、掲載前にモデレートされます
このサイトはhCaptchaによって保護されており、hCaptchaプライバシーポリシーおよび利用規約が適用されます。