
Introduction
A professional indoor lighting setup is not just about what lights you bring. It is about the order you set them up in.
For mobile DJs, event service providers, small production teams, churches, schools, and indoor venues, many lighting problems come from a messy workflow: gear unloaded in the wrong place, stands moved after cables are already run, DMX addresses checked too late, or scenes tested only after guests arrive.
A repeatable workflow helps you move from load-in to show-ready faster, with fewer mistakes and less stress.
The goal is simple: unload, place, power, connect, test, clean up, and confirm the show looks before the event begins.
Why Workflow Matters More Than Random Setup
A lighting setup can fail even when the fixtures are good.
If the setup order is wrong, small problems multiply. You may run cables before confirming fixture positions. You may power everything before checking stand stability. You may program scenes before cleaning up cable paths. Then when something does not respond, you waste time guessing instead of fixing the real issue.
Professional workflow reduces:
- Setup delays
- Missing cables or clamps
- DMX address conflicts
- Unsafe cable paths
- Last-minute scene problems
- Guest-facing clutter
- Team confusion
A good workflow also makes your service easier to repeat. Your team should not need to reinvent the setup at every indoor event.

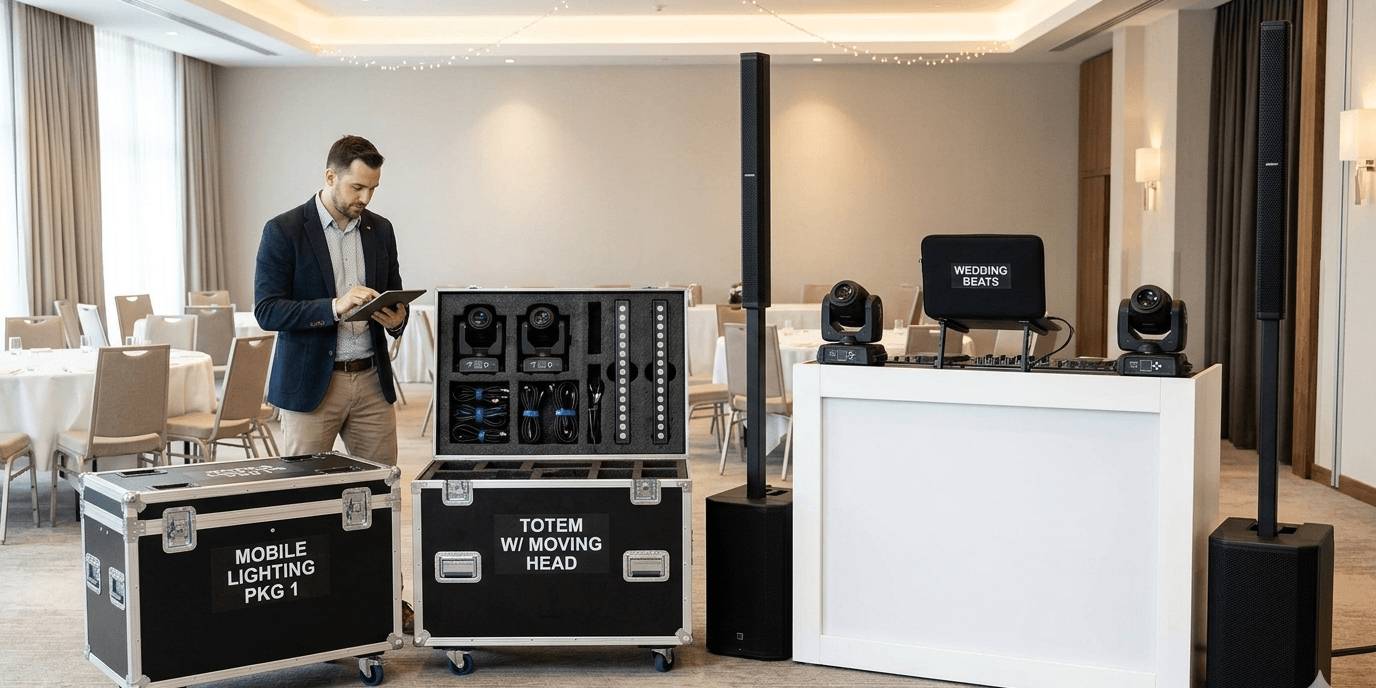
Step 1: Load In and Sort Gear by Zone
Do not bring every case into the middle of the room and start opening everything at once.
First, unload by zone:
- DJ booth or control area
- Front lighting
- Rear lighting
- Left-side fixtures
- Right-side fixtures
- Stage or dance floor fixtures
- Cables and accessories
- Backup gear
This keeps the room clear and reduces the chance of losing small items during setup.
A good load-in starts before you leave your storage space. DJ pre-gig checklist guides commonly include lights, stands, clamps, controllers, DMX cables, mains cables, truss, haze/fog gear, and spare items as part of event preparation, not as afterthoughts.
For event service teams, each lighting package should have a loading list. If a fixture needs a specific clamp, cable, safety wire, power extension, or control profile, those items should travel with the package.
Step 2: Confirm the Room Layout Before Building
Before setting up stands, walk the room.
Check:
- Where guests will enter
- Where people will walk
- Where the DJ booth or stage will be
- Where the dance floor or performance area is
- Where power outlets are located
- How high the ceiling is
- Where lights may hit guests’ eyes
- Where cables can run safely
This step prevents rework.
For example, a stand may look good from the DJ booth but block a doorway. A rear light may look powerful but shoot directly toward seated guests. A cable path may be short but cross a main walkway.
Plan fixture positions and cable paths together. Stage cable management guidance commonly recommends planning cable runs in advance and labeling cables clearly on both ends to reduce confusion during setup and troubleshooting.
Step 3: Set Fixtures and Stands Before Running Cables
Place the fixtures before running power and DMX.
This order saves time. If you run cables first and then move the stands, the entire cable plan may need to change.
For each stand or fixture position, check:
- Stand legs are fully opened
- Clamps are tight
- Safety cables are ready
- Fixtures are balanced
- Light direction is roughly correct
- Guests cannot easily bump the fixture
- The fixture has enough ventilation space
For moving heads, make sure there is enough clearance for pan and tilt movement. For PAR lights or wash fixtures, angle them before taping cables so you do not need to disturb the setup later.
Do not rush this step. Stable placement makes the rest of the workflow cleaner.
Step 4: Run Power First, Then DMX Signal
Once fixtures are placed, run power first.
Power should be planned by zones:
- DJ booth power
- Left lighting stand
- Right lighting stand
- Rear fixtures
- Stage fixtures
- Effect lights
Do not overload one power strip just because it has open sockets. Check fixture power draw and keep extension cords, plugs, and strips in safe locations. Avoid loose plugs, hanging power strips, damaged cables, and guest-accessible connections.
After power is routed, run DMX signal.
A basic DMX chain should be logical:
Controller → Light 1 → Light 2 → Light 3 → Light 4
DMX should normally be daisy-chained from device to device. ESTA’s DMX512 recommended practice explains that DMX lines run from the console to one device and then to the next, and that simple Y-cord splitting should not be used; if signal needs to go in different directions, a proper splitter is needed. ETC also notes that DMX should be daisy-chained and not Y-split, and recommends termination at the end of the line with a 120-ohm resistor.
For a left/right setup, use:
Controller → DMX Splitter → Left Chain
Controller → DMX Splitter → Right Chain
This makes troubleshooting much easier than random splitting.
Step 5: Address, Test and Group Fixtures
After power and DMX are connected, check addressing and control.
Confirm:
- Each fixture is in the correct DMX mode
- Addresses match your controller setup
- Fixtures that should mirror each other share the correct address
- Fixtures that need independent control have separate address ranges
- Pan, tilt, dimmer, color, strobe, and blackout respond correctly
Then group fixtures by job:
- Wash lights
- Beam lights
- Moving heads
- Uplights
- Effect lights
- Strobes or matrix fixtures
This matters because show control is easier when lights are grouped by purpose. During the event, you may want wash lights soft and static while moving heads become active. Or you may want effects off during speeches and active during party moments.
Do not wait until showtime to discover that two fixtures have conflicting addresses.
Step 6: Clean Up Cables Before Programming Scenes
Cable cleanup should happen before final scene testing.
If cables are loose, stretched, or crossing walkways, the system is not show-ready yet.
Use:
- Velcro ties for extra cable
- Gaffer tape for low-traffic floor runs
- Cable covers or ramps for guest areas
- Labels on both cable ends
- Separate paths for power and signal when possible
- A fixed place for spare cables
Label useful points:
- Left Stand Power
- Right Stand Power
- Rear DMX Chain
- Controller Output
- Fixture 01 / Address 001
- Fixture 02 / Address 025
A clean cable layout is not only about appearance. It helps you troubleshoot quickly if one light loses signal or power.
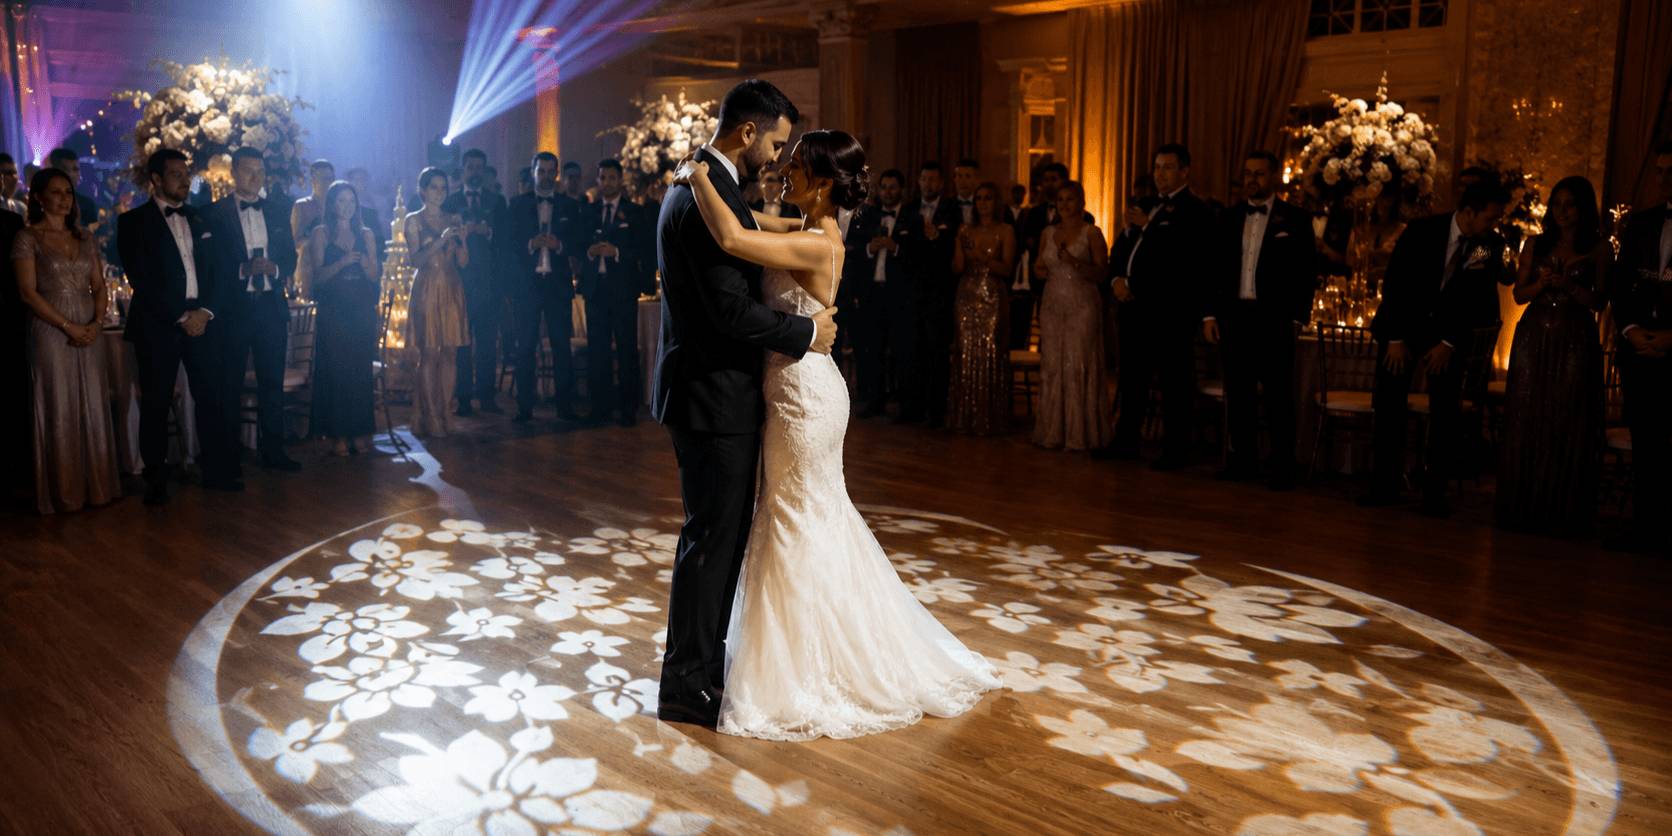
Step 7: Build Your Show Looks
Show-ready means more than “all lights turn on.”
You should prepare the actual looks needed for the event.
At minimum, test:
- Ambient look
- Dinner or background look
- Speaking or formal look
- First dance or slow moment
- Active party look
- High-impact look
- Blackout or emergency pause
For weddings and corporate events, not every moment should look like a dance floor. For school dances and parties, you may need stronger movement and more energy. For small stages, visibility may matter more than effects.
The best setups are controlled, not random.
Step 8: Final Pre-Show Walkthrough
Before doors open, do one final walkthrough from the audience side, not only from the DJ booth.
| Check Area | What to Confirm |
|---|---|
| Safety | Stands locked, clamps tight, safety cables attached |
| Power | Fixtures powered, no loose plugs, no hot connectors |
| Signal | DMX chain responds, addresses correct, terminator used if needed |
| Cable Paths | Walkways clear, cables taped or covered |
| Scenes | Ambient, formal, party, and blackout looks tested |
| Backup | Spare DMX cable, power cable, tape, flashlight ready |
Look at the room as the client or guest will see it.
Are cables visible in the wrong place? Are beams aimed too low? Are stands blocking traffic? Does the lighting look intentional? Can you stop everything quickly with a blackout scene?
This final check is where a setup becomes show-ready.
Common Workflow Mistakes to Avoid
Avoid these common problems:
- Unloading all gear into one messy pile
- Running cables before confirming fixture positions
- Moving stands after cables are taped
- Mixing power and signal cables without a plan
- Using Y-cables instead of a proper DMX splitter
- Forgetting to test blackout
- Testing auto mode but not the real show scenes
- Leaving spare cables buried in a case
- Waiting until guests arrive to clean up cables
- Not checking the room from the audience view
Most event-day lighting problems are preventable with better workflow.
Final Advice: Build a Workflow Your Team Can Repeat
A reliable indoor lighting setup is not built by memory. It is built by a repeatable process.
Load in by zone. Confirm the room. Place fixtures first. Run power. Route DMX. Address and test. Clean up cables. Build show looks. Do a final walkthrough.
When your workflow is consistent, your setup becomes faster, cleaner, safer, and easier to troubleshoot.
Useful Resource
Planning fixture roles, layout, control method, and upgrade paths before the event can save time on-site.
Betopper’s Free Lighting Solution Service can help you review your indoor lighting setup before you buy or expand.
Hinterlasse einen Kommentar
Alle Kommentare werden vor der Veröffentlichung geprüft.
Diese Website ist durch hCaptcha geschützt und es gelten die allgemeinen Geschäftsbedingungen und Datenschutzbestimmungen von hCaptcha.