
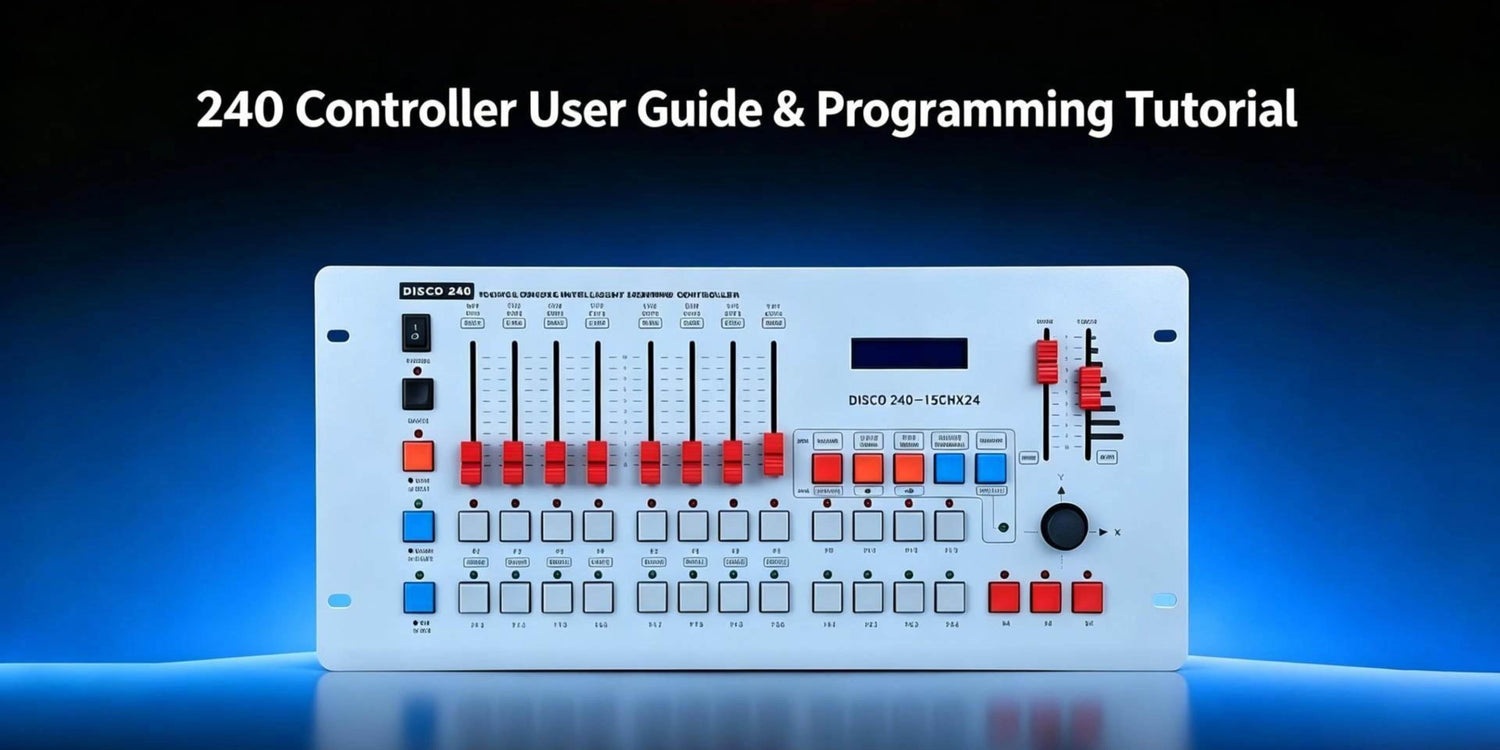
How to Connect Stage Lights to the Betopper DMX Console 240
Before you start building scenes on the Betopper DMX Console 240, it's worth slowing down and getting the wiring and addressing right. Most "my light won't respond" problems trace back to one of three things: the DMX cable is plugged into the wrong port, the fixture's address doesn't match the button you're pressing, or you're simply controlling the wrong fixture on the console.
This guide walks through connecting your lights, understanding the P1–P12 fixture buttons, setting DMX addresses correctly, and running a quick test before you touch any programming.
You can also watch the full video walkthrough here: https://www.youtube.com/watch?v=WHU7BmwNY9M

The P1–P12 Fixture Buttons
The console has 12 fixture buttons, P1 through P12, and each one controls a single fixture position — so in a basic setup you can run up to 12 lights this way.
The key thing to know is that each position is spaced 16 DMX channels apart:
| Fixture Button | DMX Start Address |
|---|---|
| P1 | A001 |
| P2 | A017 |
| P3 | A033 |
| P4 | A049 |
| P5 | A065 |
| P6 | A081 |
| P7 | A097 |
| P8 | A113 |
| P9 | A129 |
| P10 | A145 |
| P11 | A161 |
| P12 | A177 |
A mistake a lot of people make here: your second fixture isn't A002, it's A017. Your third is A033, and so on, always adding 16. If a fixture's address doesn't line up with its button position, it won't respond the way you expect.
Why the spacing matters: each fixture reads a block of 16 channels starting from its own address. That gap keeps fixtures from stepping on each other's channels — if two lights share an address, they'll move together; if one's addressed wrong, the console ends up talking to channels that fixture isn't even using.
Wiring the First Fixture
Every fixture has two DMX ports — DMX IN and DMX OUT. IN receives signal (from the console or the previous fixture in the chain), OUT passes it along to the next one.
To connect your first light:
- Run a DMX cable from the console's DMX output.
- Plug it into the DMX IN port on the first fixture.
- Power the fixture on and double-check the cable is seated properly.
So the first link in the chain is always: Console DMX OUT → Fixture 1 DMX IN. If you plug into the fixture's OUT port by mistake, it won't receive anything.
Daisy-Chaining the Rest
Once fixture one is connected, keep going the same way:
- Fixture 1 DMX OUT → Fixture 2 DMX IN
- Fixture 2 DMX OUT → Fixture 3 DMX IN
- ...and so on down the line.
The full chain looks like this:
Console DMX OUT → Fixture 1 IN → Fixture 1 OUT → Fixture 2 IN → Fixture 2 OUT → Fixture 3 IN...
Just keep the signal direction consistent — always output into the next fixture's input — and the chain will carry through cleanly.
Setting Fixture Addresses
With everything wired, go through each fixture and set its address.
Fixture 1 → A001. Power on the display; if it's already sitting in the address menu you're set, otherwise use the Menu button to get there. Dial in A001 and hit confirm. This matches P1 on the console.
Fixture 2 → A017, not A002 — this is the one people get wrong most often. Use the up/adjustment buttons to move from A001 to A017 and confirm. This lines up with P2.
Keep the same pattern going if you've got more lights. For six fixtures, for example, you'd land on:
A001 · A017 · A033 · A049 · A065 · A081
Once every fixture is addressed correctly, P1 controls light one, P2 controls light two, and so on — no guesswork.
Running a Basic Control Test
With everything connected and addressed, head back to the console and test before you build any scenes.
Select the fixture buttons for the lights you've got connected (P1–P6 for six fixtures, say), then bring up the first few faders. On most RGB fixtures those early channels are dimmer, red, green, and blue — though this varies by fixture, so check your manual if you're unsure.
A simple test sequence:
- Select the fixture button(s).
- Bring up the dimmer/brightness channel.
- Bring up red, then green, then blue.
- Try mixing colors.
- Confirm the response is smooth.
If that works, your wiring and addressing are solid.
If something doesn't respond, isolate it — don't try to debug the whole chain at once. Connect just the first fixture, set it to A001, select P1, and test dimmer and color. Once that's working, add the second fixture at A017 and test P2, and so on down the line. It's slower, but it tells you immediately whether the problem is the cable, the address, the fixture's mode, or which button you've selected.
Common Issues to Check
- DMX IN/OUT reversed — signal has to go console OUT → fixture IN, every link in the chain.
- Second fixture set to A002 instead of A017 — the most common addressing mistake on this layout.
- Fixture not in DMX mode — many fixtures also have auto, sound-active, or master/slave modes; console control needs DMX mode specifically.
- Wrong P button selected — if you're sending values but nothing moves, check you've got the right fixture position selected.
- Dimmer channel left at zero — color channels won't show anything if brightness isn't raised first.
- Different channel layout — not every fixture maps fader 1/2/3 to the same functions; check the DMX chart in your fixture's manual if the response seems off.
Before You Start Programming
Quick checklist before you move into building scenes:
- Every fixture wired in the correct signal direction
- All fixtures powered
- Every fixture set to DMX mode
- Addresses correctly spaced (A001, A017, A033...)
- P1–P12 matched to the right fixtures
- Dimmer and RGB channels tested and responding smoothly
Get through that list and programming becomes a lot more predictable — no chasing down a "broken" light that just has the wrong address.
Full video tutorial: https://www.youtube.com/watch?v=WHU7BmwNY9M
More in This Series
This guide covers wiring and addressing — the setup work that comes before you start programming. If you haven't already, check out our first guide in this series: How to Use a DMX Console 240 with Stage Lights: Betopper Setup Guide, which covers fixture selection, Blackout, Sub Control, Spot Control, and saving your first program.
For more lighting tutorials and product guides, visit Betopper's website.


Hinterlasse einen Kommentar
Alle Kommentare werden vor der Veröffentlichung geprüft.
Diese Website ist durch hCaptcha geschützt und es gelten die allgemeinen Geschäftsbedingungen und Datenschutzbestimmungen von hCaptcha.