
Introduction
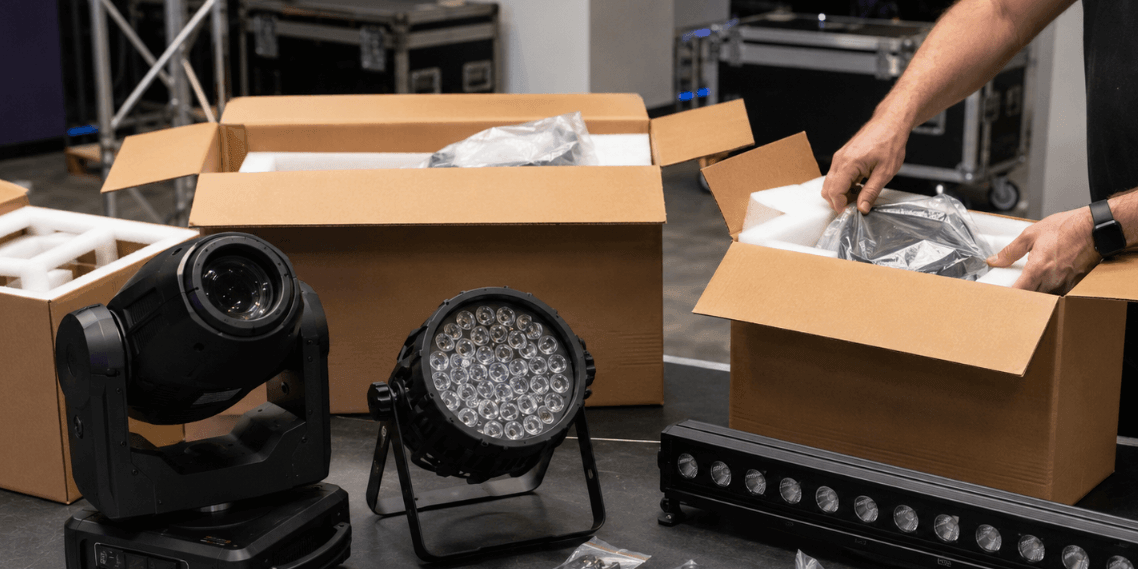
Receiving new stage lights is an important step in building or upgrading a lighting setup. Before adding them to your regular rig, it is helpful to run a quick receiving check so you know exactly what arrived, which accessories are included, and how each fixture is set up out of the box.
This check is not complicated. It simply helps you confirm the package condition, included parts, fixture menu, control mode, and basic functions before the lights are stored, installed, or programmed into a show file.
For moving heads, wash lights, PAR lights, light bars, strobes, and other DMX-controlled fixtures, a short receiving check also helps you record useful setup details such as DMX mode, start address, controller profile, and test result. This makes future setup, troubleshooting, and support communication much easier.

1. Check the Package and Accessories
Start with the shipping package before removing the fixture.
Look for heavy carton damage, crushed corners, water marks, torn areas, broken foam, or signs that the package was opened during transport. Minor marks can happen during shipping, but obvious impact damage should be documented before you continue.
When opening the box, avoid cutting too deeply. Accessories, manuals, cables, or foam protection may be close to the top or sides.
After unpacking, check whether the included items match the product page or user manual. Different fixtures include different accessories, so do not assume every model comes with the same parts.
Common items to check include:
- Fixture body
- Power cable
- Mounting bracket or omega bracket
- Screws or quick-lock hardware
- User manual or QR manual card
- Remote control, DMX cable, or safety information if included
If something appears missing, take a photo of everything received and compare it with the official packing list before contacting support.
2. Inspect the Fixture Externally
Before powering on the light, inspect the fixture itself.
Check the housing, lens, base, display, buttons, power port, DMX ports, bracket points, and moving parts. The goal is to confirm that the fixture arrived in good physical condition.
For moving heads, check the head, yoke, and base. Make sure nothing looks bent, cracked, blocked, or loose. For PAR lights, wash lights, strobes, and light bars, check the lens cover, LED area, housing edges, and mounting points.
Pay attention to:
- Cracks, dents, or loose screws
- Scratched, cracked, or cloudy lenses
- Bent brackets or damaged mounting points
- Loose display panels or stuck buttons
- Bent DMX pins or damaged power ports
- Loose parts moving inside the fixture
Do not open the fixture body unless the manufacturer or support team instructs you to do so. A receiving check should be external and safe.
If you see anything unusual, take photos before continuing.
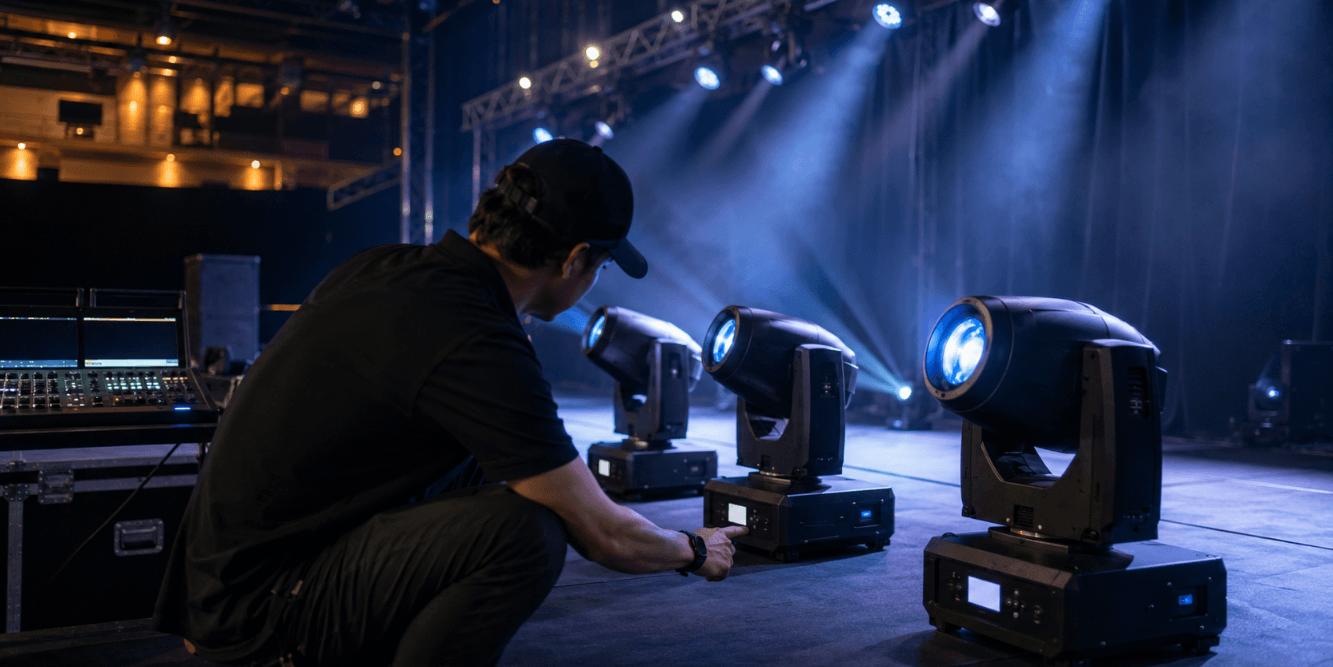
3. Power On One Fixture at a Time
After the external check, power on one fixture at a time.
This makes it easier to confirm that each unit starts normally. If you bought multiple fixtures, testing them one by one also helps you identify which unit you are checking.
When the fixture powers on, watch the startup process. Moving heads usually perform a reset or calibration movement. Other fixtures may show a display screen, default mode, or standby state.
Check whether the display turns on normally, the fixture completes startup without error, the fan sounds normal if there is one, and LEDs or lamp output appear as expected. For moving heads, make sure the head resets smoothly and does not jam, shake strongly, or stop halfway.
If there is unusual smell, smoke, repeated reset, strong vibration, or abnormal mechanical noise, stop the test and record a short video. Do not force the fixture to keep running if something clearly looks abnormal.
4. Review the Menu and Control Mode
Once the fixture powers on correctly, check the menu.
New fixtures may arrive in different default modes depending on product type or factory testing. This is normal. The important thing is to confirm the mode before using the light in your own setup.
Look for the control mode, such as DMX, Auto, Sound Active, Master/Slave, or Manual mode.
If you plan to use a DMX controller, set the fixture to DMX mode and choose the channel mode you want to use. If you purchased multiple units of the same model, set them to the same DMX channel mode before comparing their behavior.
Also check the start address. For a first single-unit test, address 001 is usually easy to manage. When connecting multiple fixtures later, each unit should have its own correct address range.
Many “not working” situations are caused by the fixture being in the wrong mode or the controller using a different channel mode.
5. Test Basic Fixture Functions
Before connecting DMX, test basic output from the fixture menu if the model supports manual test, auto mode, or built-in programs.
For moving heads, check pan and tilt movement, dimmer, shutter, color output, strobe, and any available gobo, prism, zoom, or focus function.
For PAR lights, wash lights, and bars, check each color channel, color mixing, dimmer response, strobe, built-in programs, and pixel or zone control if supported.
You do not need to test every advanced effect immediately. Start with the core functions that confirm the fixture responds normally.
Watch for missing colors, uneven LED sections, unstable dimming, strange flickering, stuck motors, or functions that behave very differently from the manual. If one function looks wrong, record a short video while the issue is happening.
6. Check DMX Control
If you plan to use the fixture with a controller, test DMX control before building a full setup.
Use a proper DMX cable. Set the fixture to DMX mode, confirm the start address, and select the matching fixture profile or channel layout in your controller or software.
Test the main controls slowly: dimmer, shutter, color, pan and tilt, movement speed, strobe, blackout, and available effect channels.
If the controller shows one function but the fixture performs another, the issue may be profile or channel mode mismatch, not a fixture problem. Compare the controller profile with the DMX channel chart in the manual.
For example, if the fixture is set to one DMX mode but the controller profile is built for another mode, channel values may control the wrong functions.
7. Compare Multiple Fixtures and Run a Short Stability Test
If you purchased multiple fixtures of the same model, test them together after each unit passes the individual check.
Set them to the same DMX mode and assign proper addresses. Run a simple cue with dimmer, color, movement, and basic effects. Compare color output, dimmer level, movement direction, movement speed, strobe timing, and reset behavior.
Small differences can come from angle, viewing position, calibration, or batch variation. Large differences should be tested further.
If one fixture behaves differently, swap its DMX address, cable position, and physical position. If the issue follows the fixture, document it. If the issue stays in the same cable position or address, the problem may be in the setup, cable, controller patch, or DMX chain.
After that, run a 30–45 minute stability test. Use a simple built-in program or DMX cue with color changes, dimming, movement, and basic effects. Watch for unexpected resets, flickering, display errors, unstable brightness, stuck movement, abnormal fan noise, or overheating.
Make sure vents are not blocked and the fixture has enough airflow.
8. Keep a Simple Record and Contact Support When Needed
A simple receiving record can save time later, especially if you bought multiple fixtures.
Write down the fixture model, order number, test date, DMX mode, start address, controller or software used, test result, and any issue found. A note on your phone is enough.
Contact support if you find shipping damage, missing included accessories, startup errors, missing colors, stuck pan or tilt movement, abnormal noise, unexpected resets, or no DMX response after correct setup.
When contacting support, send your order number, fixture model, short video, photos if needed, DMX mode, start address, controller model, and the test steps you already completed. A clear video is often more useful than a long explanation.
Final Advice
Checking new stage lights after delivery is a normal part of receiving professional equipment. It helps confirm that the shipment arrived safely, the accessories are complete, and the fixture is set up correctly for your controller and workflow.
Start with the package, then inspect the fixture, power on one unit at a time, review the menu, test basic functions, check DMX response, compare multiple units if needed, and run a short stability test.
A careful receiving check helps you use your new lights with more confidence and makes support communication much faster if you ever need help.
For stage lighting fixtures, setup guidance, and technical support, visit Betopper’s official website:
https://betopperdj.com/

Hinterlasse einen Kommentar
Alle Kommentare werden vor der Veröffentlichung geprüft.
Diese Website ist durch hCaptcha geschützt und es gelten die allgemeinen Geschäftsbedingungen und Datenschutzbestimmungen von hCaptcha.