


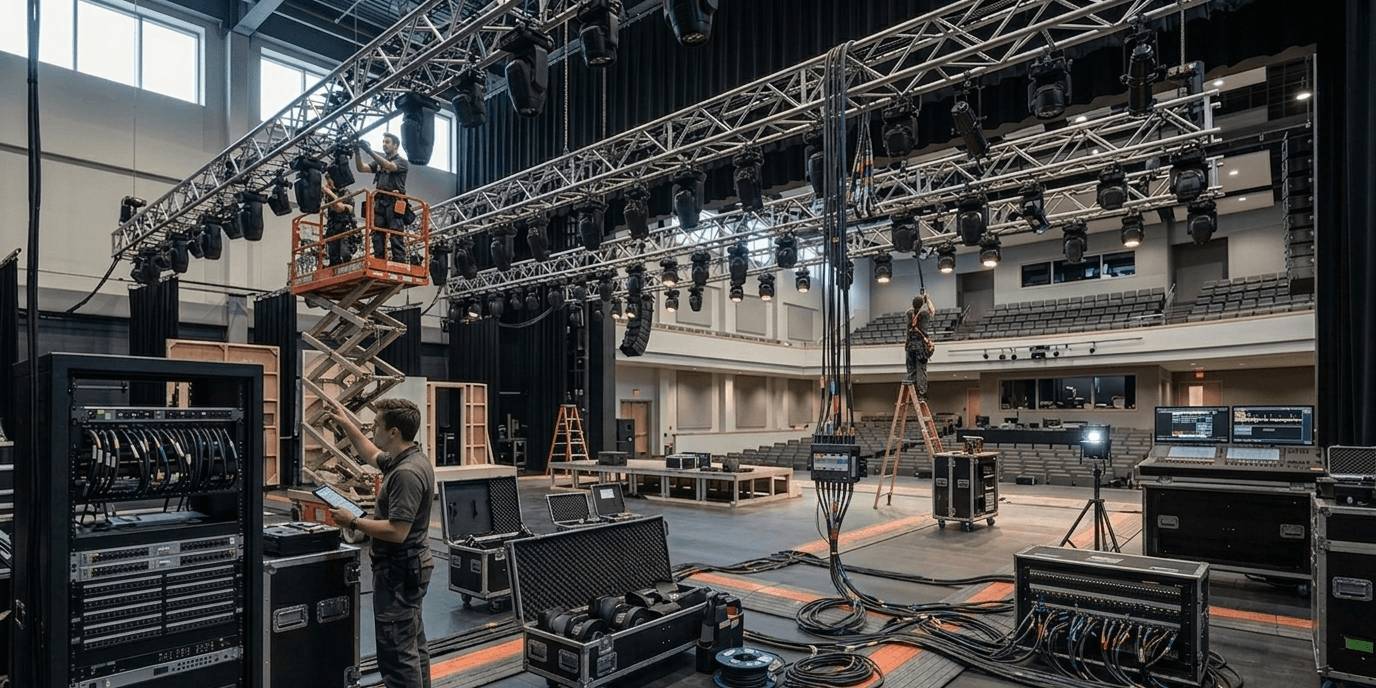
A clean indoor stage lighting setup is not only about looking professional. It is also about safety, faster setup, easier troubleshooting, and more reliable control during the event.
For mobile DJs, small event teams, churches, schools, and indoor venues, the problem is often not the lights themselves. The problem is messy cabling, unclear DMX routing, overloaded power strips, unlabeled fixtures, or skipped pre-show checks.
A good setup should be easy to understand at a glance. You should know where power comes from, where the DMX signal starts, which fixture is first in the chain, which cable goes to which stand, and what to check before guests enter the room.
This guide focuses on practical indoor setups, not large touring systems. The goal is simple: make your lighting rig cleaner, safer, and easier to run.

Why a Clean Lighting Setup Matters
Messy lighting setups create problems before the event even starts.
Loose cables across walkways can become trip hazards. Unlabeled DMX cables make troubleshooting slow. Power and signal cables mixed together can create confusion. Fixtures plugged into random outlets are harder to manage when something stops working.
A clean setup helps you:
- Reduce trip risks
- Set up and tear down faster
- Find problems quickly
- Keep DMX signal flow easier to follow
- Look more professional to clients and venue staff
- Avoid last-minute panic before the show
For indoor events, the audience may be close to your equipment. A wedding guest, church volunteer, school staff member, or venue manager will notice if cables are loose, stands look unstable, or your rig looks rushed. Clean cable management is part of the overall presentation.
Start With a Simple Layout Plan
Before connecting any cables, decide where the lights should go.
Do not start by throwing stands into the room and running cables afterward. Start with a simple layout:
- Where is the DJ booth or stage?
- Where is the dance floor or performance area?
- Where are the nearest power outlets?
- Where will guests walk?
- Where can cables run safely?
- Where will the DMX controller or lighting console sit?
- Which fixtures need to be controlled together or separately?
For a small indoor setup, try to route cables along walls, stage edges, behind stands, or behind the DJ booth. Avoid running cables across doorways, main walking paths, or open dance floor areas whenever possible.
Also think in zones:
- Front lights
- Rear lights
- Left-side lights
- Right-side lights
- DJ booth lights
- Effect lights
When your setup is planned in zones, both power routing and DMX addressing become easier.
Cable Management: Keep Power, DMX and Audio Organized
Power, DMX, and audio cables should not become one tangled bundle.
A cleaner approach is to separate them by function. Keep power cables together, DMX cables together, and audio cables separate when possible. This makes the setup easier to inspect and easier to fix if something goes wrong.
Use the right cable length whenever possible. A cable that is too short creates tension. A cable that is too long creates loops, piles, and trip risks. Extra cable should be coiled neatly and secured with Velcro ties, not left loose on the floor.
For guest areas or walkways, use gaffer tape, cable covers, or cable ramps. Do not use regular office tape or packing tape on floors; it may leave residue, fail during the event, or become slippery.
A simple cable plan can look like this:
| Cable Type | Best Practice |
|---|---|
| Power cables | Keep away from walkways, avoid loose coils, check total load |
| DMX cables | Daisy-chain fixtures, label both ends, avoid random splits |
| Audio cables | Keep clean and separate from power when possible |
| Extension cords | Tape down or cover in guest areas |
| Spare cables | Keep labeled and easy to access |
Labeling matters. A small label on both ends of a cable can save several minutes during setup and troubleshooting.
Useful labels include:
- DMX Left Stand
- DMX Rear Chain
- Power Right Stand
- Fixture 01 / Addr 001
- Fixture 02 / Addr 025
- Spare DMX
- Spare Power
DMX Signal Routing: Daisy-Chain, Don’t Randomly Split
DMX signal routing should be simple and logical.
The standard method is a daisy chain:
Controller DMX OUT → Light 1 DMX IN → Light 1 DMX OUT → Light 2 DMX IN → Light 2 DMX OUT → Light 3 DMX IN
For a small indoor rig, this is usually the easiest way to keep the signal path clean.
A simple chain:
Controller → Light 1 → Light 2 → Light 3 → Light 4
If you need to send DMX to two different directions, such as left and right truss or front and rear light groups, do not randomly split the signal with a basic Y-cable. Use a proper DMX splitter.
Example:
Controller → DMX Splitter → Left Light Chain
Controller → DMX Splitter → Right Light Chain
This keeps the signal cleaner and makes troubleshooting easier.
At the end of a long DMX chain, especially if you notice flickering, random movement, or unstable response, a DMX terminator can help stabilize the signal. For very small setups, many users may not always need one, but it is a useful tool to keep in your kit.
Also make sure your DMX addresses and channel modes match your control plan. If two fixtures have the same address, they will respond together. If you want separate control, each fixture needs its own channel range.
Power Routing: Clean Does Not Mean Overloaded
A clean setup is not only about hiding cables. It also has to be electrically sensible.
Do not plug everything into one cheap power strip just because it fits. Check the power draw of your lights, controller, speakers, DJ gear, and any other equipment sharing the same circuit.
For small lighting setups, separate power by zone when possible:
- Left stand power
- Right stand power
- Rear lights power
- DJ booth power
- Audio power
Avoid hanging power strips in the air or letting them dangle from stands. Keep connections off the floor when possible, especially in areas where drinks, guests, or cleaning crews may be present.
Do not use damaged cables, loose sockets, or hot plugs. If a cable is cracked, crushed, or unstable, replace it before the event. Indoor does not automatically mean risk-free.
Pre-Show Checklist: 15 Minutes Before Doors Open
The pre-show check is the most important part of a clean lighting setup. It is your last chance to catch simple problems before guests enter or the show starts.
Use this checklist before every event.
1. Visual Safety Check
Walk around the full setup and check:
- Stands are stable and locked
- Tripod legs are fully opened
- Clamps are tight
- Safety cables are attached where needed
- Fixtures are not leaning or loose
- No cables are stretched under tension
- No cables cross main walkways uncovered
- Tape, ramps, or cable covers are secure
- Fixtures are not aimed directly into guests’ eyes at close range
Do not skip this step. A setup that looks clean from the booth may still have loose cables behind a stand or near a doorway.
2. Power Check
Turn on the lighting system and confirm:
- Every fixture powers on
- No plugs are loose
- No cable or connector feels unusually hot
- Power strips are not overloaded
- Extension cords are not damaged
- Cables are not pinched under cases or stands
If something flickers or resets when another fixture turns on, check the power route before blaming the light.
3. DMX Signal Check
Test the control chain:
- Controller is powered and connected
- DMX OUT goes to the first fixture DMX IN
- Fixture addresses are correct
- Channel modes match your controller setup
- Each fixture responds as expected
- Movement, dimmer, color, strobe, and blackout work
- Final fixture is terminated if needed
If several lights stop responding, check the first bad fixture in the chain. The issue is often a wrong address, loose DMX cable, wrong input/output connection, or failed cable between two fixtures.
4. Scene Check
Do not only test movement. Test real event looks.
Prepare and check:
- Soft ambient look
- Dinner or background scene
- First dance or slow scene
- Active party scene
- High-energy scene
- Blackout or emergency pause
A blackout scene is especially important. If something unexpected happens, you need a fast way to stop the lights without unplugging equipment.
5. Spare Gear Check
Keep basic backup items nearby:
- Spare DMX cable
- Spare power cable
- Gaffer tape
- Velcro ties
- Small flashlight
- DMX terminator
- Extra clamp or safety cable if needed
A clean setup includes a clean backup plan.
Final Advice: Clean Setups Make Troubleshooting Easier
A cleaner indoor stage lighting setup does not require expensive gear. It requires planning, labeling, safe cable paths, correct DMX routing, and a consistent pre-show checklist.
When your cables are organized, your signal path is clear, and your fixtures are checked before the event, problems become easier to find and faster to solve.
Clean setups are safer for guests, easier for operators, and more professional for clients.
Need help planning your Betopper lighting setup?

Leave a comment
This site is protected by hCaptcha and the hCaptcha Privacy Policy and Terms of Service apply.